How do I send a document for signature?
To send a document for signing, select one or more documents in the list and click on the sign button. The button will not appear if you select documents with an extension that can not be used in combination with ValidSign. Allowed extensions are: PDF,DOC,DOCX,TXT,RTF,ODT.

The following screen will appear: 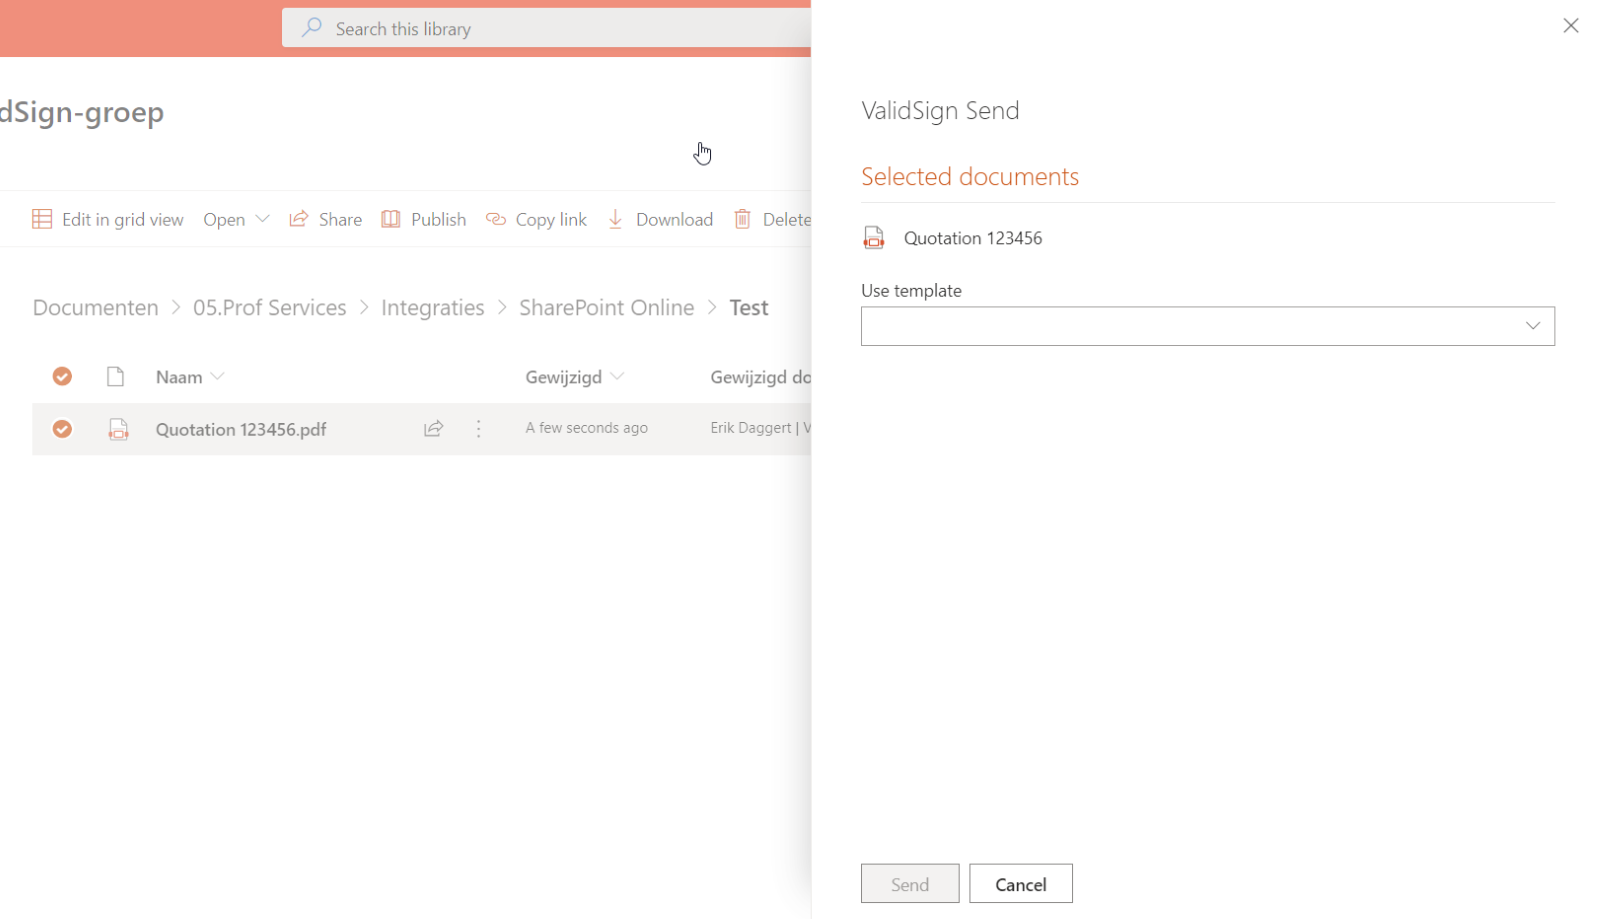
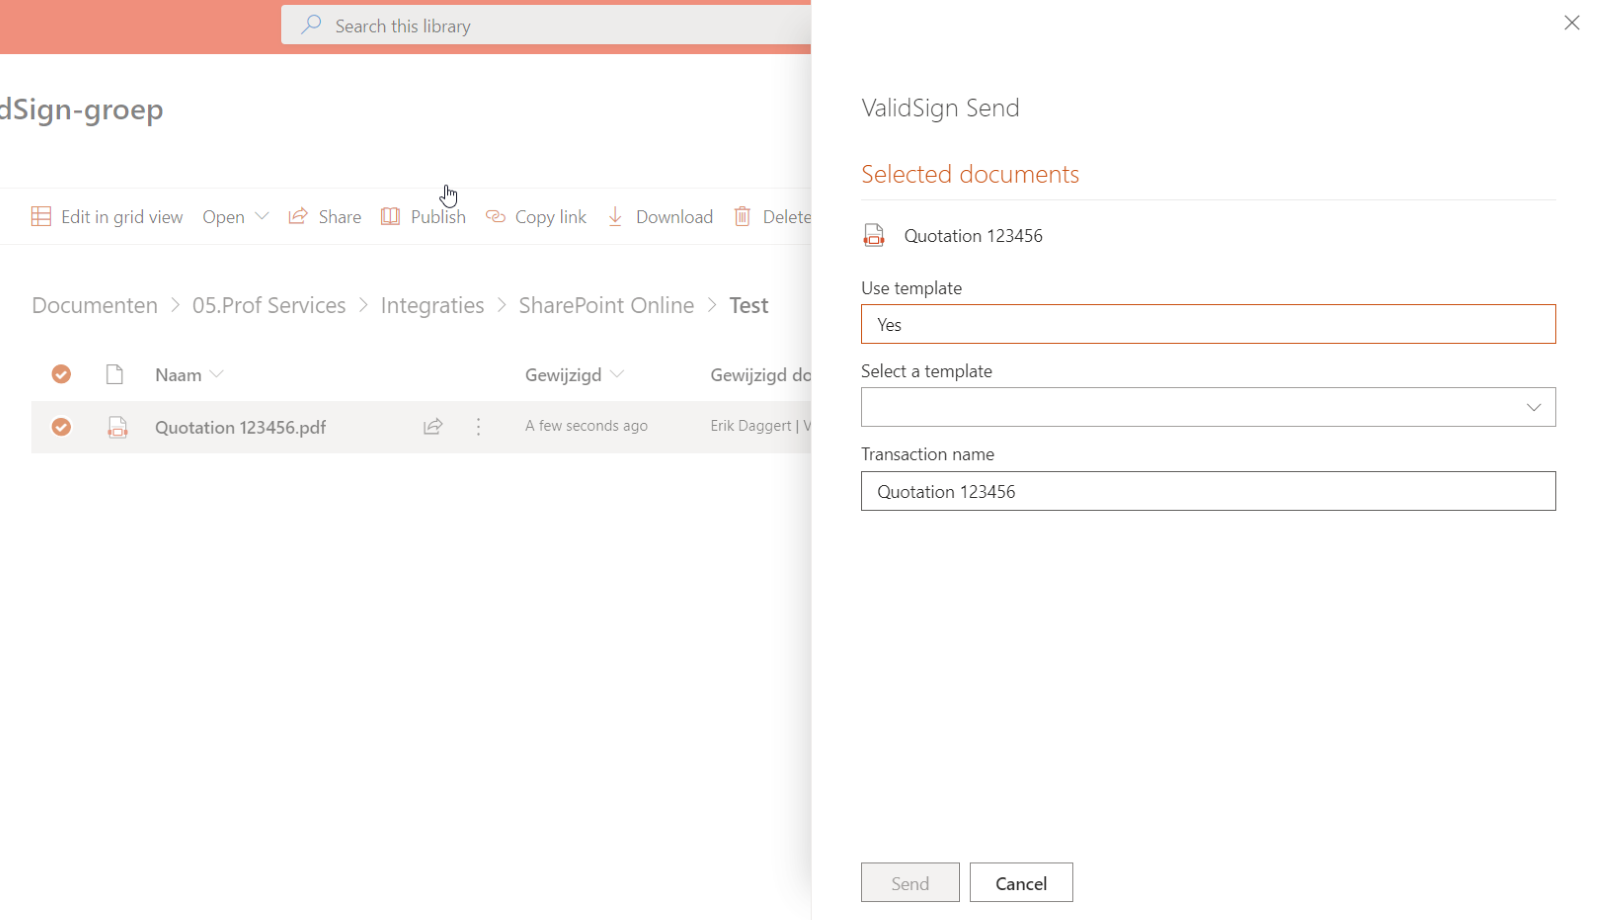
If the Template usage option is enabled, you will be able to choose whether you want to create a transaction based upon a template or not. When you click on that template, the following screen will appear. You will be able to choose a template from your last of active templates and set a transaction name for your template. The transaction will be created when you click on the button “Send”. You will be automatically send through the ValidSign environment to complete your transaction.
When you haven’t selected to use a template for this transaction, the following screen will appear and you are able to select all the configurations for this transaction.
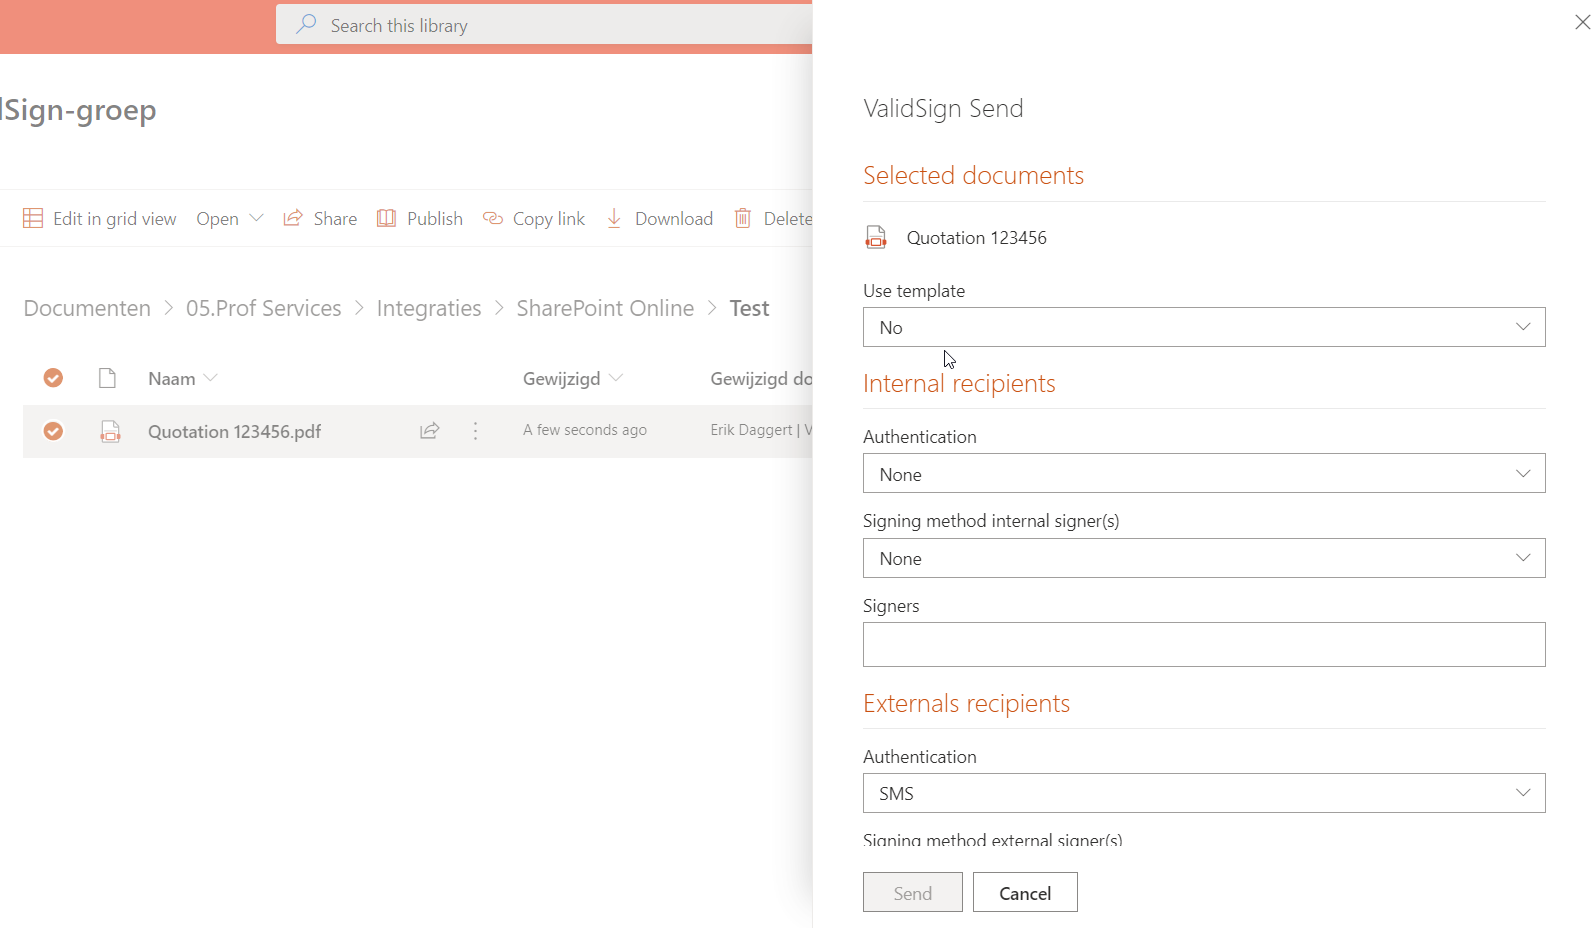
After filling in the fields press the “Send” button. The signers will be notified by email and you will be redirected to the document list.
Be sure that the sender is a ValidSign user. contact your company’s administrator to add your email address to the list of senders if you don’t have a ValidSign account yet.
Automatic download of signed documents
As soon as a document is signed the document will be uploaded to SharePoint. It can take up to 5 minutes for a document to show up in the SharePoint library. This only works when the security app is installed.
Download of signed documents
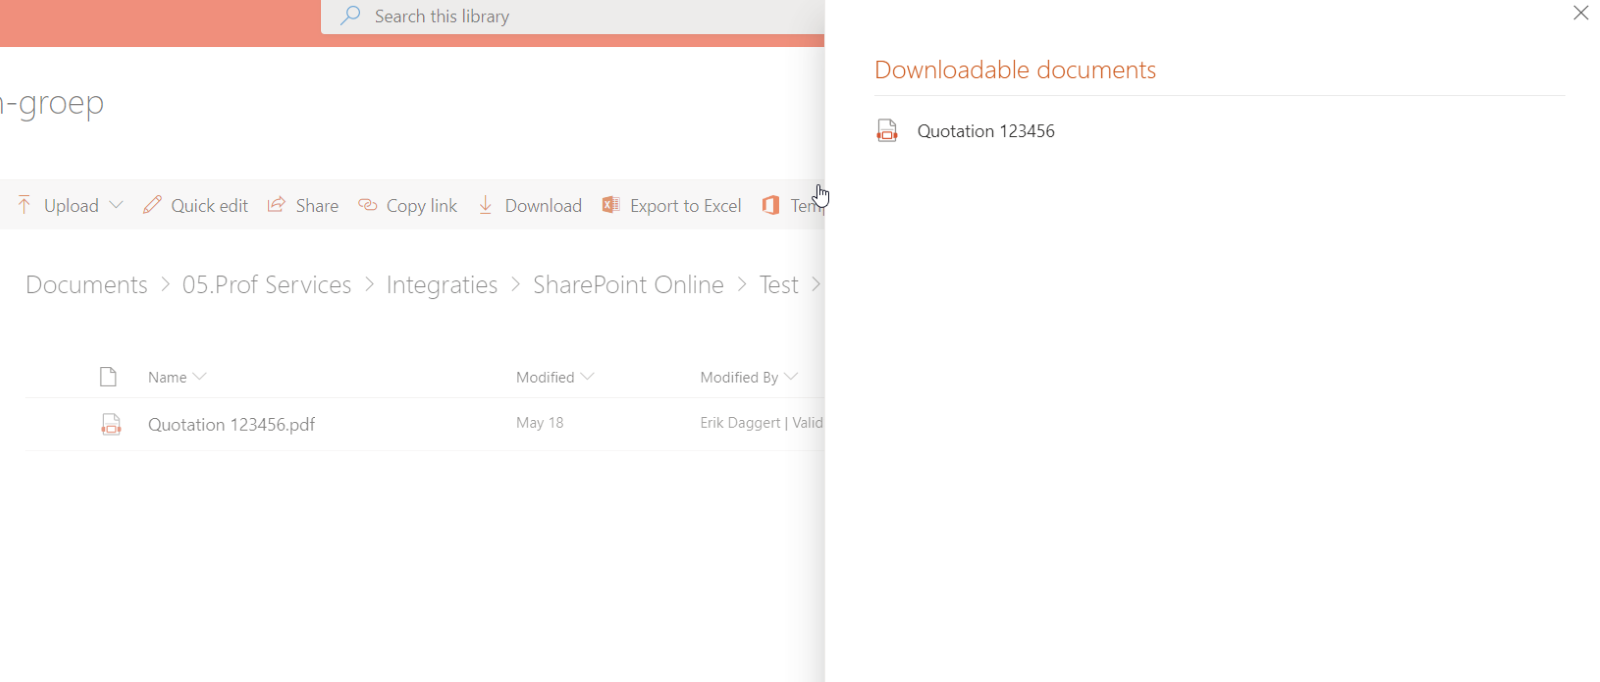
Press the ‘Download’ button in the file ribbon to check for signed documents.

Since signed documents will be downloaded this might take a while. When downloading is complete you will be redirected back to SharePoint.